5 Best Under-The-Radar React Native Libraries in 2023: Dev Tested and Reviewed
Given our extensive use of React Native and recent community progress, we’re excited to delve into 5 under-the-radar but impactful React Native libraries that further bridge the gap to a native feel. Discover how these tools can enhance automated testing, upgrade animations, and streamline styling in your 2023 projects.

React Native has been a part of our toolbox for a long time, and we've built many apps using it over the years for client partners like SpotOn and Purple Carrot, so we're excited to see the community's great progress over the last few months. There are lots of new and exciting libraries that create new possibilities and allow us as developers to deliver an end-user experience that’s closer to native than it has ever been when building apps with React Native.
In this article, we'll share our insights on 5 relatively unknown React Native libraries (in no particular order) that we believe are worth keeping an eye on in 2023 and how they will help us create the next generation of cutting-edge applications:
From a new framework for automated E2E testing; new ways to create better, more interactive animations and a more powerful graphics engine; to easier implementation of launch screens, and the ability to have utility classes for consistent styling across the app - there's a lot to be excited about. Are you ready? Let’s dive right in!
1. Maestro
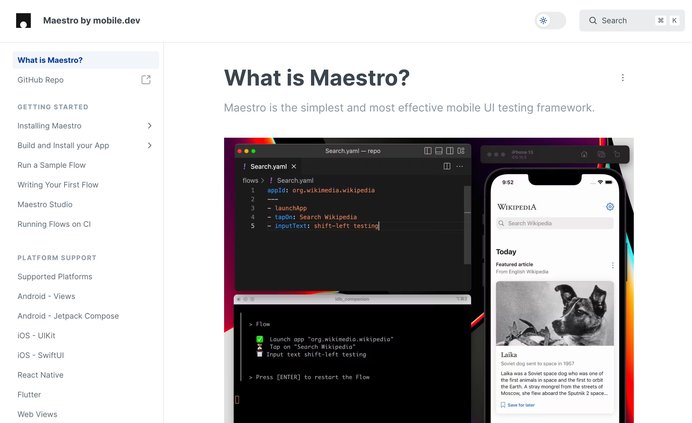
Maestro is a new yet powerful and versatile tool for end-to-end testing of mobile applications developed for Android, iOS, or React Native. It’s designed to help developers and testers ensure the quality and reliability of their mobile apps by automating the testing process, from setting up test scenarios to reporting results, with a zero configuration approach. It also offers advanced features such as visual testing, network interception and mocking, and parallel testing, making it a valuable tool for teams working on complex mobile apps.
Despite its relatively young age, Maestro has been gaining popularity within the React Native community to the extent that the maintainers of the widely used app boilerplate Ignite have made the decision to abandon Detox and incorporate Maestro tests starting from version 8.7.0.
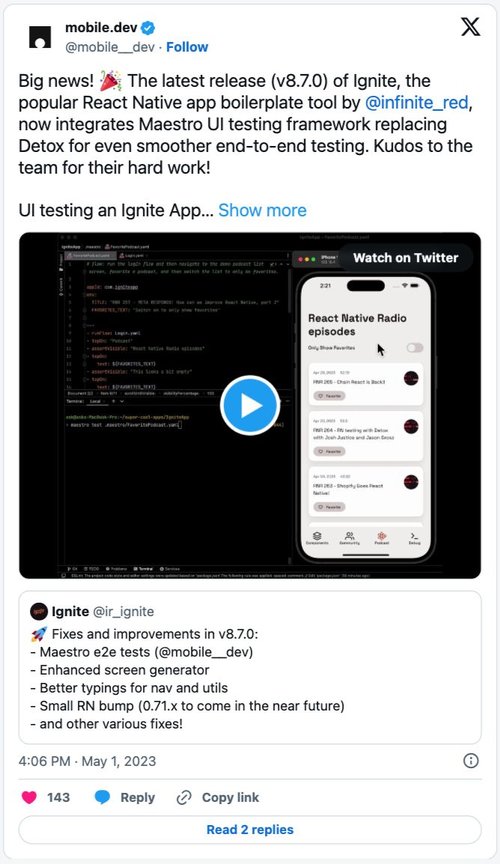
What we like about Maestro:
- Simple setup: One of the standout advantages of Maestro over other UI testing frameworks is its simplicity in setting up your project. As a single binary file, Maestro does not depend on a specific Node.js version or another test runner like Jest or Mocha.
- Regex functionality: Other testing frameworks often limit us from querying elements with dynamic text (e.g. date, number of points). However, Maestro overcomes this problem by allowing regular expressions (regex) in its element querying. This makes it possible to query elements with dynamic text.
- The ability to intercept and mock network calls: This is one of the best features that sets Maestro apart from other React Native UI testing frameworks. Similar to Cypress on the web, Maestro allows you to define specific HTTP requests that you want to intercept and the static data you want to send back. With this feature, you can have more predictable test results, which is crucial in ensuring the reliability and stability of your tests.
Plus point: Maestro also provides a handy feature that lets you detect whether the app is running in a Maestro context. This feature becomes particularly useful when you want to write different logic inside your app for testing purposes. For example, you can serve static data instead of querying the actual API when testing with Maestro.
Just as with any other framework, Maestro has its own share of limitations that you should be aware of:
- Absence of BeforeAll/AfterAll Hooks: Maestro lacks the support for BeforeAll/AfterAll hooks commonly found in testing frameworks. This can result in challenges when dealing with a significant number of shared and nested flows, potentially making it difficult to maintain a tidy folder structure.
- Limited Assertion Options: Maestro provides only a small set of assertions, including visibility (visible and not visible) for UI elements and truthiness for JavaScript values. However, it lacks the ability to perform assertions based on style properties, limiting the flexibility in validating specific style-related aspects of an application.
- No Support for Real iOS Devices: Maestro currently does not offer support for real iOS devices. It’s restricted to simulator-based testing only. This limitation may impact the testability of features that rely on hardware like the camera or the phone sensors.
In conclusion, if your team is looking for a way to confidently test your React Native app from a user perspective without wasting time going through the rabbit holes of configurations or updating the codebase to make it testable, then Maestro is definitely the way to go.
With its simple setup, flexible element querying, context detection, and network call interception, Maestro is an excellent choice for anyone who wants to streamline their E2E testing process.
To install it, all you need to do is run the following command:
curl -Ls "https://get.maestro.mobile.dev" | bashIf you want to run testing flows on iOS simulators, you need to install the Facebook IDB tool by running these two commands:
brew tap facebook/fb
brew install facebook/fb/idb-companion
With these simple steps, you can start testing your React Native app with Maestro in no time.
More on Maestro here:
- Full documentation
- GitHub repo: mobile-dev-inc / maestro
- #maestro public Slack channel: Join here
2. Rive
Rive, the successor of Flare, was announced in 2019 as a small and well-performing animation library with powerful features for creating interactive and smooth animations.
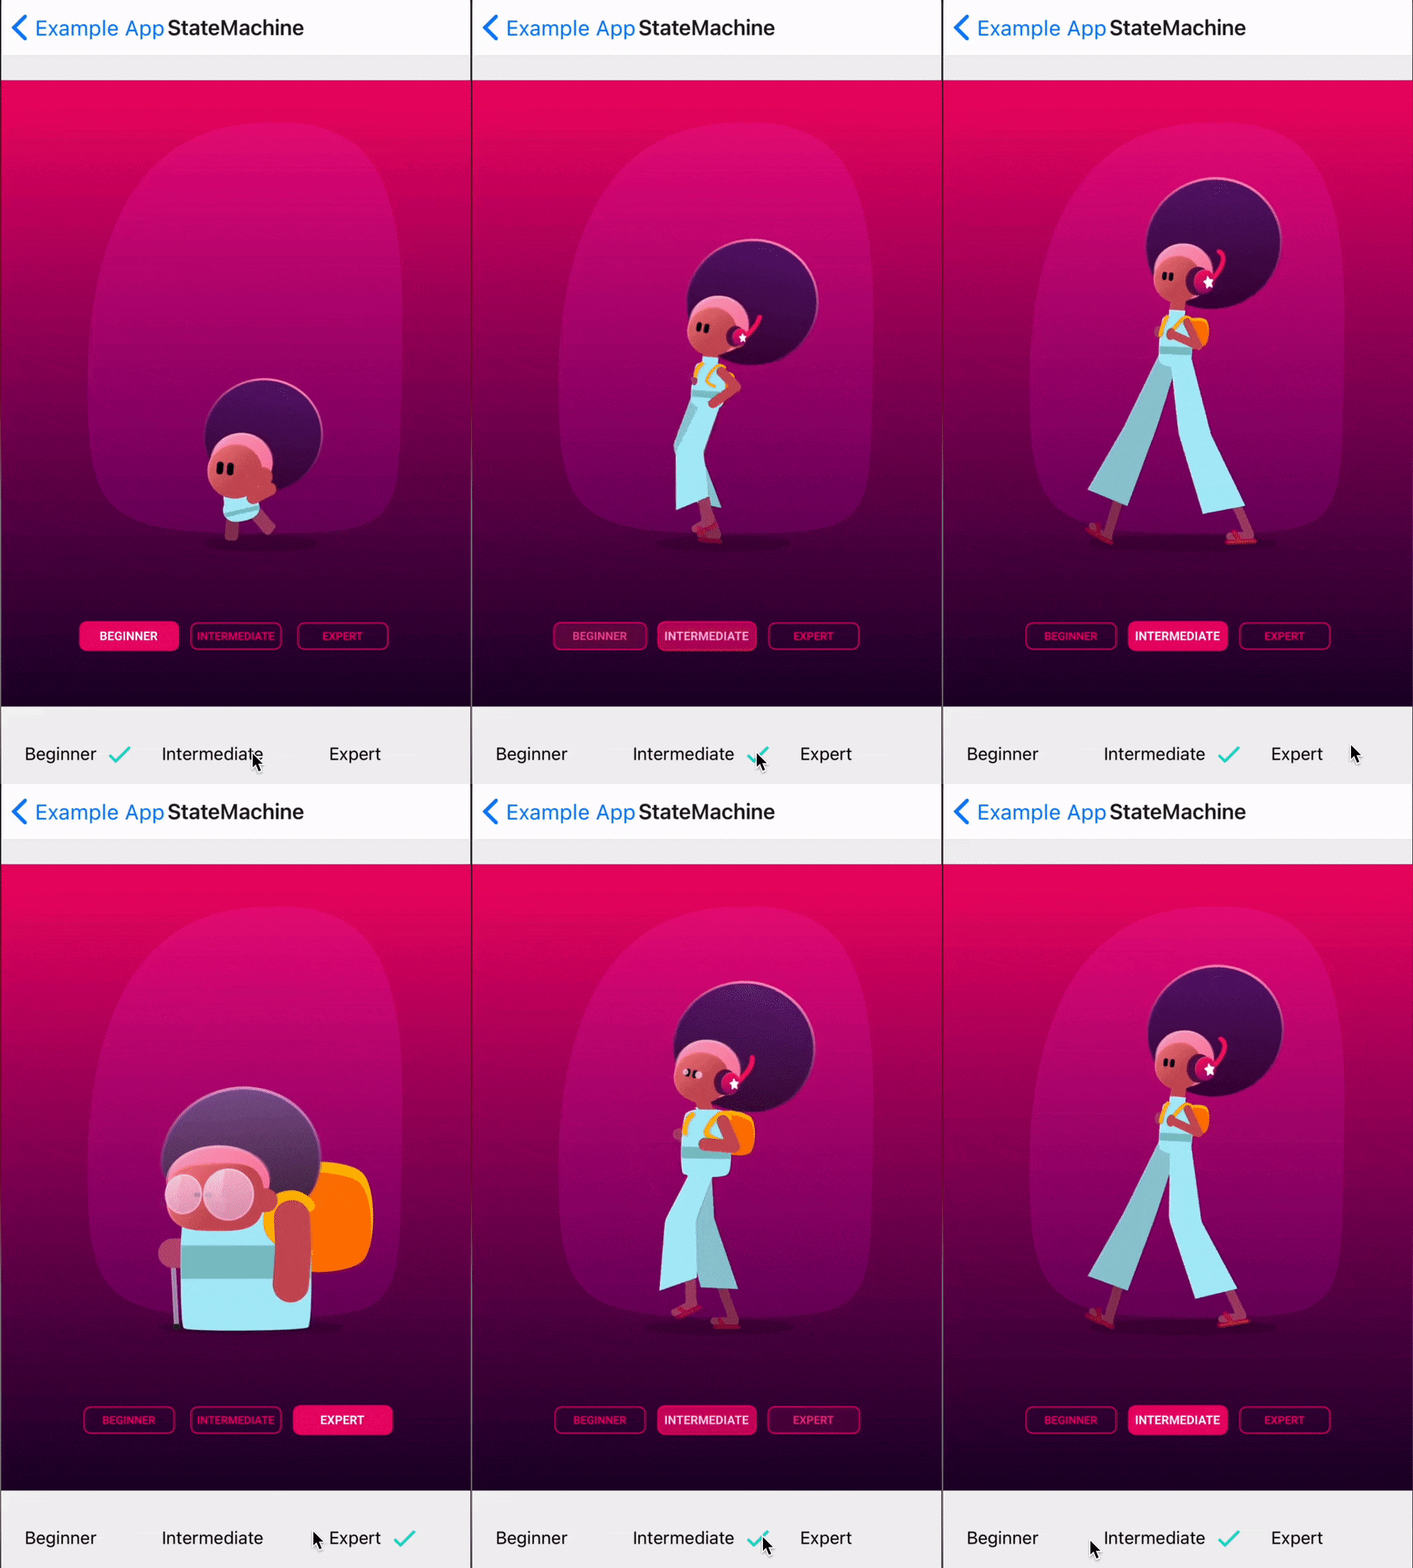
With only one animation file, Rive allows developers to create interactive animations that can dynamically modify their state and mesh deformations based on user inputs or triggers, enhancing the user experience. Over time, Rive has evolved into an ecosystem with a strong community that actively contributes to a growing library of downloadable and editable animations. It offers compatibility with a lot of technologies like React Native, Unity, and Native iOS. Check out this example where you can simply alter the state of the animation with just one Rive file:
What we like about Rive:
- Small animation file size: Rive’s animation files are much smaller compared to GIFs, MP4, and even Lottie JSON files. This means that your animations take up less space and load faster on the user’s device.
- Interactive Animations: With Rive you can easily make transitions between states in your animation based on some event, or user input, with just one animation file, simplifying development and enhancing user experience.
- Web editor: Rive’s own web editor allows you to customize your animations in real time, providing an efficient way to tweak parameters and see the results immediately and export it in many different formats, allowing designers and developers to choose the format that best suits their project requirements.
It’s important to note that while Rive offers a free plan, advanced features and increased capabilities require a paid subscription. The free plan has limitations on files, revision history, and asset size. When deciding whether Rive is the best option for your project needs, it's critical to consider these limitations or other associated costs.
In conclusion, if you’re looking for a modern animation tool to create and implement 60FPS animations that can run smoothly anywhere, Rive is definitely one to check out. With great performance and a set of powerful features, it can take your user experience to the next level!
More on Rive:
3. React Native Skia
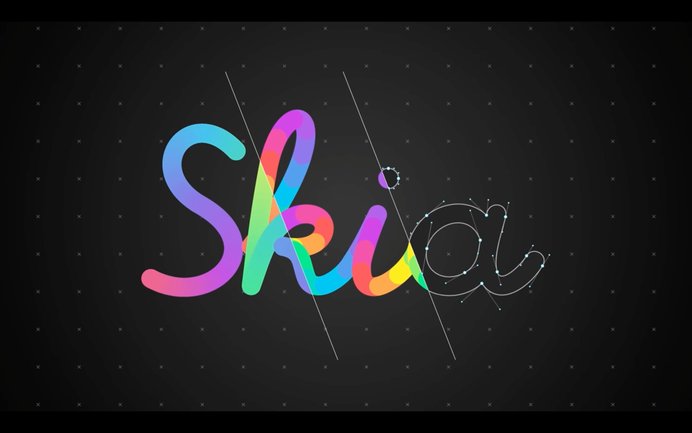
React Native Skia brings advanced 2D graphics to React Native apps. It was introduced by the Shopify engineering team to help bridge the gap between graphic designers and developers, enabling a unified language for UI design and implementation. Based on Skia, an open-source graphics library developed by Google, this cross-platform drawing library serves as the graphics engine for Google Chrome and Chrome OS, Android, Flutter, Mozilla Firefox, Firefox OS, and many other products. By using Skia, React Native can render its components more efficiently, with smoother animations and better support for custom UI elements.
What we like about React Native Skia:
- Cross-platform compatibility: By writing and maintaining a single codebase, developers can deploy their apps on iOS, Android, and even web. This capability is particularly useful for projects that require a seamless transition between mobile and web platforms.
- Enhanced animation capabilities: When combined with GestureHandle and Reanimated it opens up countless possibilities for visually appealing, interactive, and highly performant animations.
- High-level customization: With a wide range of APIs such as advanced image filters, gradients, shaders, path effects, SVG, vertices, and text layouts, React Native Skia offers a high level of customization with native-like performance. It also introduced some drawing primitives that were previously not available in React Native, such as backdrop blur, and drop and inner shadow.
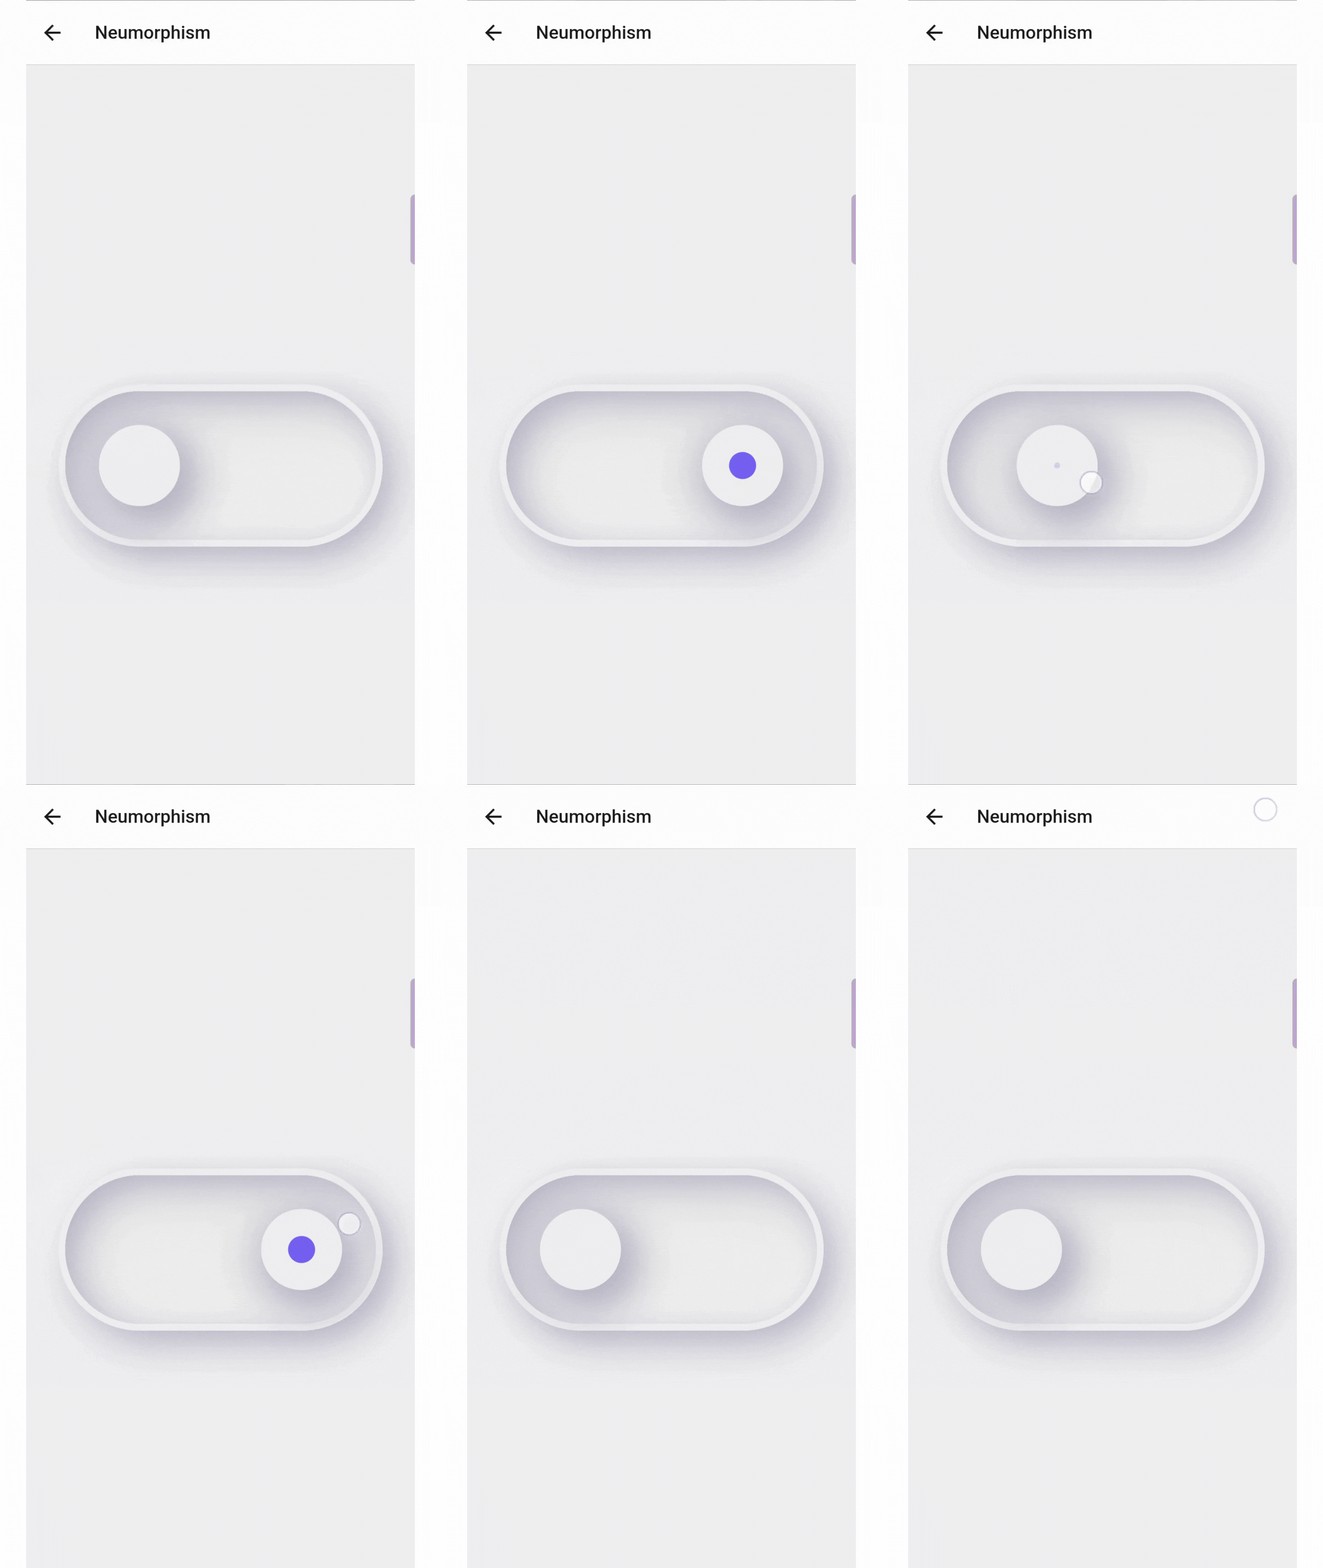
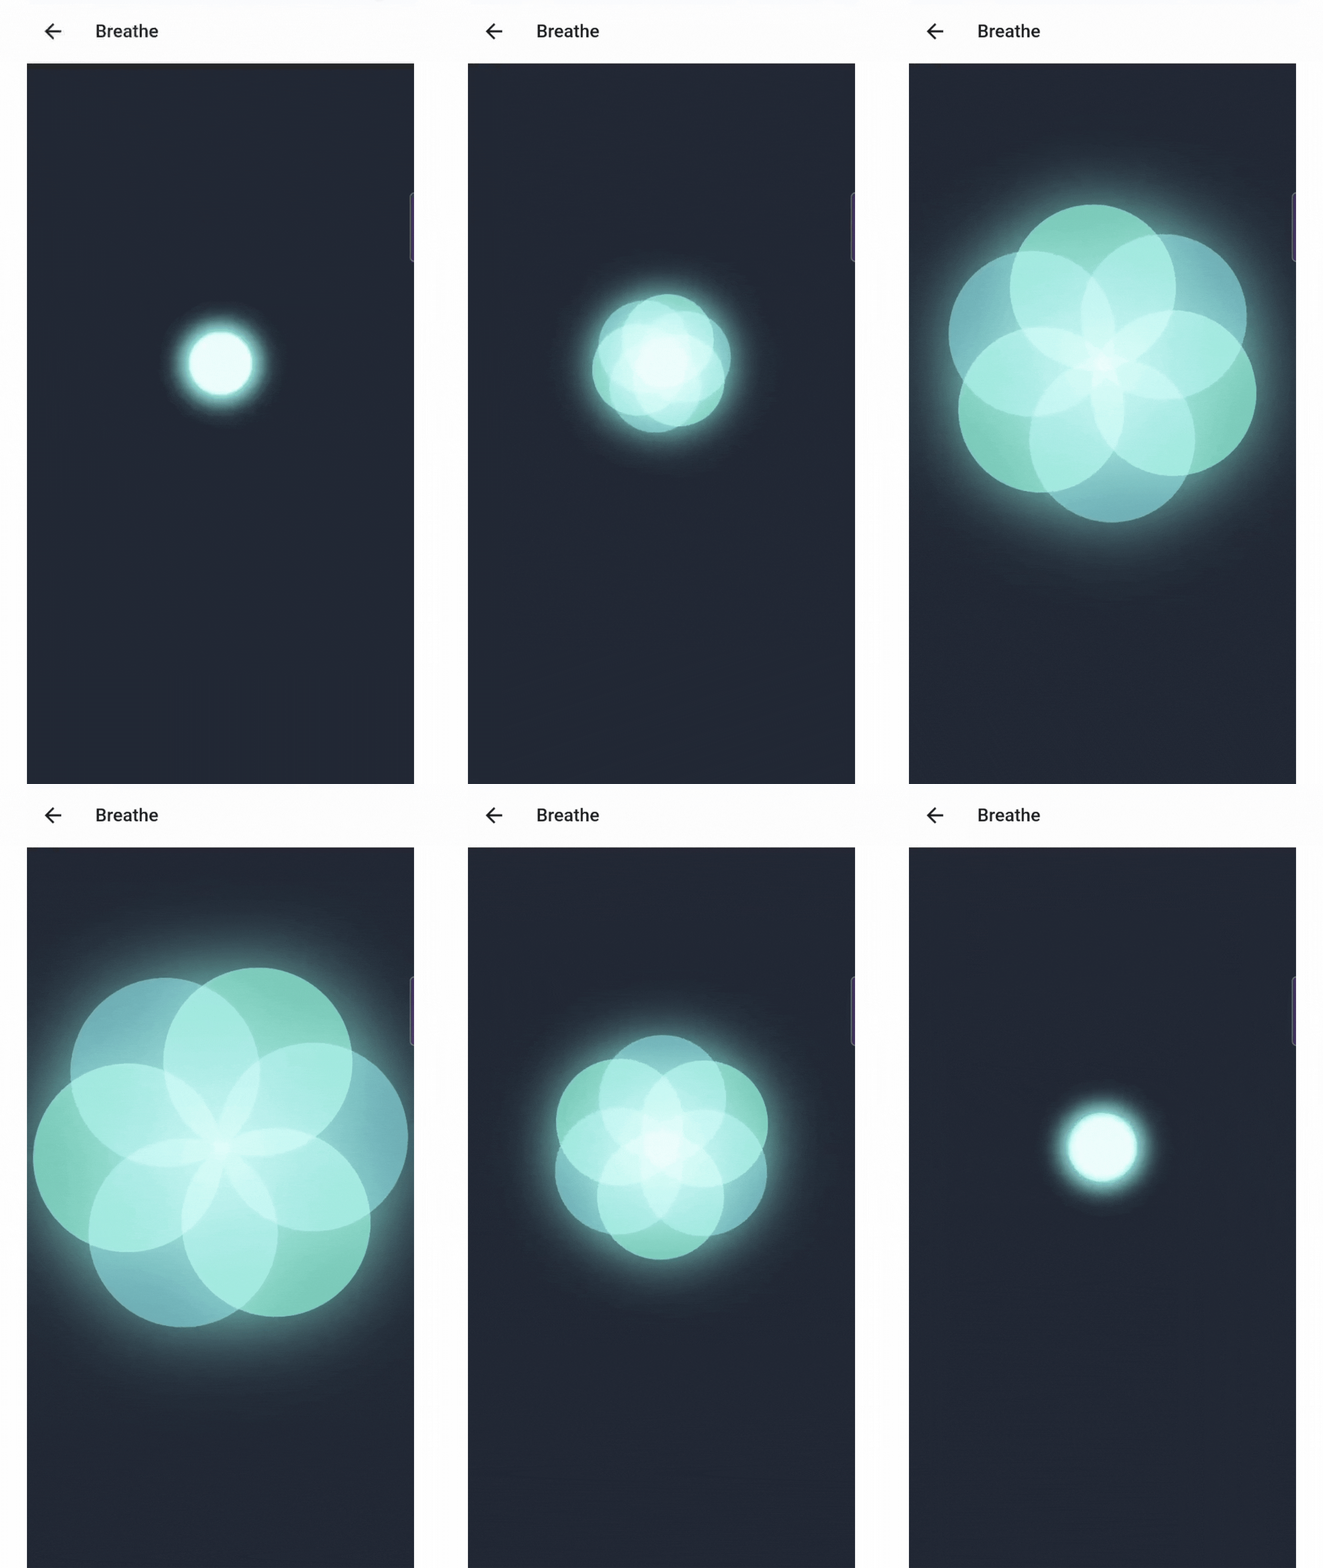
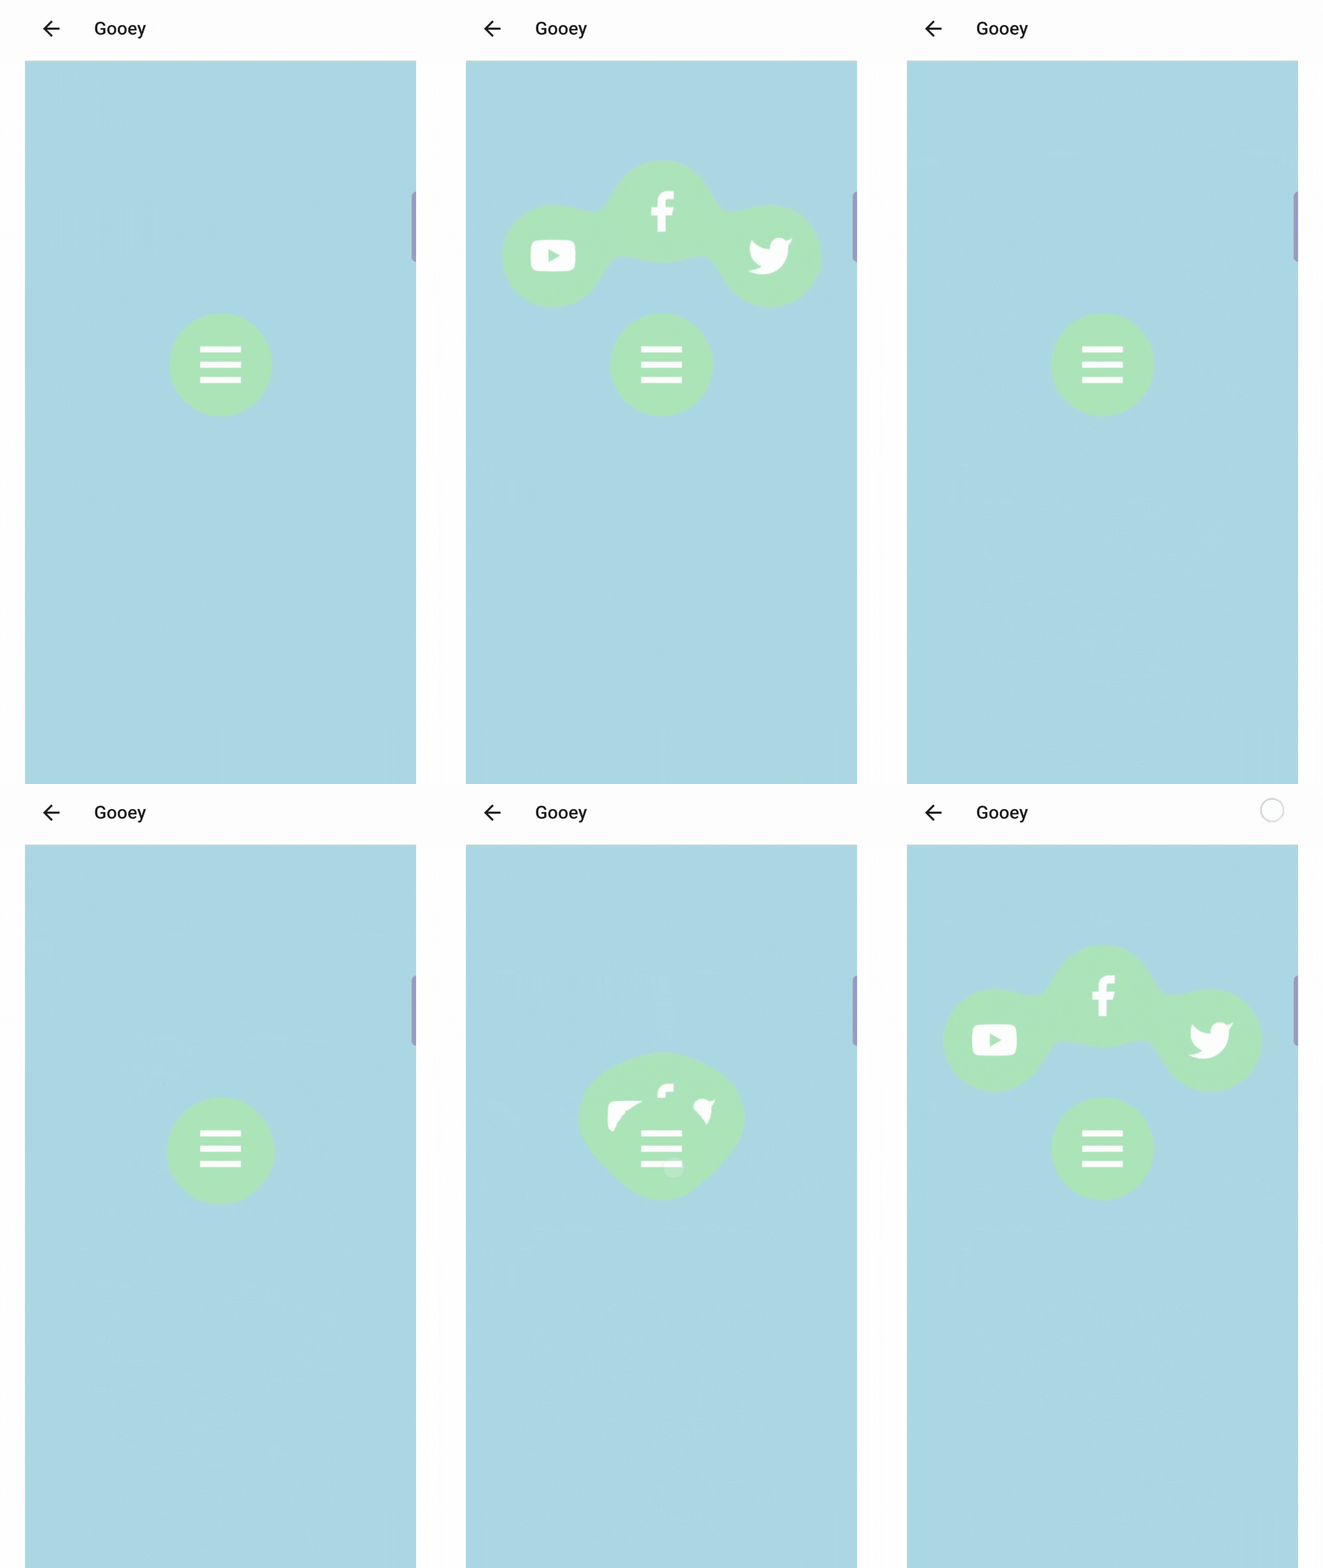
Some potential drawbacks that you should keep in mind when considering this library:
- Learning curve: With all the extensive options it provides, it takes considerable time and dedication to fully grasp all the concepts and intricacies of how it works.
- Bundle footprint: Over 5MB will be added to the overall size of your app.
- Still under active development: Various updates down the line could result in current implementations becoming obsolete and requiring adaptations.
In conclusion, React Native Skia stands as a valuable addition to the React Native ecosystem, offering the potential to create exceptional cross-platform applications with rich animation and customization features. While its learning curve and complexity are noteworthy, the rewards of mastering this technology could greatly enhance a developer's toolkit and contribute to delivering standout mobile experiences.
More on React Native Skia:
4. React Native Bootsplash
React Native Bootsplash is a library that aims to provide the launch screen experience for React Native apps. On iOS, Apple forces every app to provide a launch screen in a storyboard file. On Android, Google introduced the new standard SplashScreen API in Android 12. This library brings these platform-specific launch screens to React Native and gives you the control of deciding when your users can see your app’s first screen.
Another popular library is React Native Splash Screen. Compared to it, Bootsplash allows you to design launch screens using standard platform tools while Splash Screen encourages you to display an image. Internally, Bootsplash displays the launch screen while React Native is being loaded using standard APIs while Splash Screen pauses your application’s main thread which can cause issues in some limited devices. Bootsplash is more actively maintained and more configurable. You can choose to fade out the launch screen or hide it without animation depending on your app’s experience.
What we like about React Native Bootsplash:
- It reuses the platform-specific launch screens: This is important if you already have launch screens defined using those tools and you would like to use an alternative library to drive the experience, you won’t need to reimplement your launch screens in this case. Same thing if you would like to switch to another library while preserving your launch screens.
- Clear and unified APIs: For devs, this means that you don’t have to compromise your app’s stability. This library allows you to allocate as much time as you need to set up your application without creating crashes, app hangs, or other issues that might arise if your app takes too much time to launch.
- Easy integration and minimum impact on your codebase: Only a few steps are needed if you would like to try this library out and it doesn’t require heavy interactions with your codebase.
However, there are also a few things to keep in mind before you use this library:
- Both iOS and Android don’t support animation and user data on the launch screens. When designing your launch screens, make sure you only include static images, texts, and colors.
- On Android, you can’t create a custom layout for your launch screens, instead, you provide an app icon and the background color, and then the system uses them to present a layout that is standard for every app on Android. You can find the full documentation here.
Providing launch screens for mobile apps is important, not only for advertising your app’s brilliant ideas but also for allocating enough time to complete necessary setups before letting your users explore your app.
More on React Native Bootsplash:
5. Tailwind React Native Classnames
Last on our list is Tailwind React Native Classnames (TWRNC for short). It’s a library that'll look very familiar to you if you come from a web development background and had the opportunity to use Tailwind CSS in one of your projects before. TWRNC aims to provide React Native apps with the same utility classes available on Tailwind CSS, and it provides more consistent, composable, and easy-to-use styling across the application.
Since we want to have a custom look and feel for pretty much every component used in our applications, choosing the right solution for styling is really important, and there are already many popular React Native libraries like Styled System, Styled Components, and Restyled, all of which offer different ways to solve the same problem. Since TWRNC focuses on being utility-first, you can use it together with other styling libraries, and increase adoption as you go.
What we like about Tailwind React Native Classnames:
- Minimal integration requirements: TWRNC doesn't require the use of any fancy new components or to wrap all of your code with higher-order components. Instead, you can simply call the exported function inside of the style prop of the React Native components you already know and love.
- Extensive prefix options with combinability: This makes it a lot easier to achieve styling for complex scenarios like making the background black solely on Android devices with the dark theme enabled and in landscape mode.
- Custom class name generation: This can include other existing classes, as well as custom styles to tweak the UI exactly to your needs and avoid repetition (which in turn also helps keep the styles consistent across different parts of the application).
Of course, there are some limitations too and the main thing to keep in mind is that given the way styles work on the Web in comparison to React Native, TWRNC can't provide ALL of the same functionality Tailwind CSS offers, therefore it's always important to double-check the library's documentation if you're not achieving the result you'd expect.
Pro Tip: If you're using VSCode you can have autocompletion on the class names by using the Tailwind CSS IntelliSense extension.
To sum it all up, have a go with TWRNC if you want an easy and non-intrusive way of achieving styling consistency across your application, with little to no configuration. As an honorable mention, NativeWind is another library that aims to achieve the same result as TWNC. It works in a very similar way (though it requires a bit more configuration), so we're keeping an eye on it as well.
More on Tailwind React Native Classnames:
Final Thoughts
These were our top 5 picks, but of course, there are many other interesting packages that didn't make it to this list and we're very proud of the work the React Native community has been doing to keep the ecosystem fresh and full of great solutions!
We're also always looking for ways we can contribute and give back, be it by creating our own packages when a new approach is needed (read more about how we're managing modals in React Native if you haven't yet) or by actively contributing to existing community-maintained projects through pull requests whenever we believe our insights can make a difference.
We hope you'll find these libraries useful. We'll definitely share more of our insights soon, so stay tuned! In the meantime, if you’re looking for an expert tech partner in React Native and end-to-end software development, get in touch.
